In this article, I’m going to introduce you to an interesting python module named pylibdmtx! This library is written based on the libdmtx library. You can install it in Ubuntu by using the following command:
sudo apt install libdmtx0a
Now that you have the library installed let’s install pylibdmtx. I’m assuming you already have python 3 installed. If not go to https://python.org/download and install it right away!
Installation
Once, you have python you can go ahead install the pylibdmtx using pip:
pip install pylibdmtx
pip install pylibdmtx[scripts]
And, that’s it! If the above two commands are executed successfully your system is now fully ready to explore Data Matrix!
Cool! isn’t it?
Data Matrix
Before we begin, exploring data matrix, let’s check out Wikipedia for the definition:
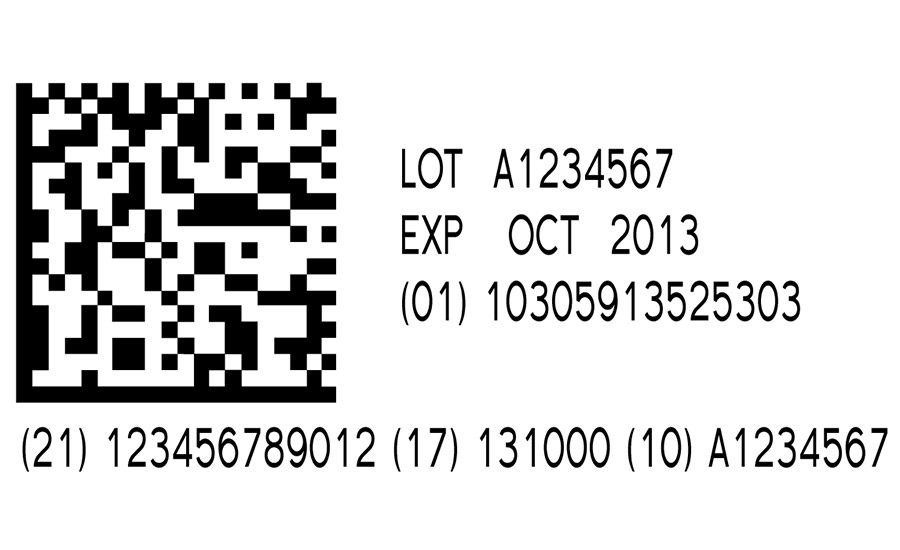
A Data Matrix is a two-dimensional code consisting of black and white “cells” or dots arranged in either a square or rectangular pattern, also known as a matrix. The information to be encoded can be text or numeric data. Usual data size is from a few bytes up to 1556 bytes. The length of the encoded data depends on the number of cells in the matrix. Error correction codes are often used to increase reliability: even if one or more cells are damaged so it is unreadable, the message can still be read. A Data Matrix symbol can store up to 2,335 alphanumeric characters.
Let’s explore this sample using the pylibdmtx library. We can begin our exploration using python console! We will be using Pillow for reading image.
from pylibdmtx.pylibdmtx import decode
from PIL import Image
image_file = "data_matrix.png"
result = decode(Image.open(image_file))
decoded_data = str(result[0].data)
print('Decoded data:', decoded_data)
If you run the above code using the sample image. You will get an output: 01034531200000111709112510ABCD1234 which is indeed the value of that Data Matrix!
The code above is pretty straight forward, as you can see, first we are loading the image file by opening it using Pillow (PIL). then, we are using the decode method from the pylibdmtx library. The decode method returns a list of results. Since, the above image contains only 1 data matrix, the first item of the list is the Decoded object of our data matrix of that input image. This Decoded object contains the data matrix’s top, left pixel co-ordinates, width, height and data of the data matrix. Using print we simply print the string representation of the decoded data of the Data Matrix.
Note that, you can also get the top left pixel location of the data matrix in the image, and width and height of it using the Rect object of the Decoded Object. Let’s say we store the Decoded object like below:
decoded_object = result[0]
# Print Top Left Pixel Positions
print(decoded_object.rect.top, decoded_object.rect.left)
#Print width & height of the Data Matrix
print(decoded_object.rect.width, decoded_object.rect.height)
Create a Data Matrix from Text
Using pylibdmtx, you can also encode string into data matrix! See the below example:
from pylibdmtx.pylibdmtx import encode
from PIL import Image
encoded_data = encode('wasi0013'.encode('utf-8'))
img = Image.frombytes('RGB', (encoded_data.width, encoded_data.height), encoded_data.pixels)
img.save("wasi0013.png")
Here, we are importing the encode method and then using it to encode the text wasi0013. Then, using the encoded_data object we create an image by using Pillow library. After we save it to a file named wasi0013.png
Output:

This is just a quick demonstration of the library. For more information regarding this library check out the official github repository here:
